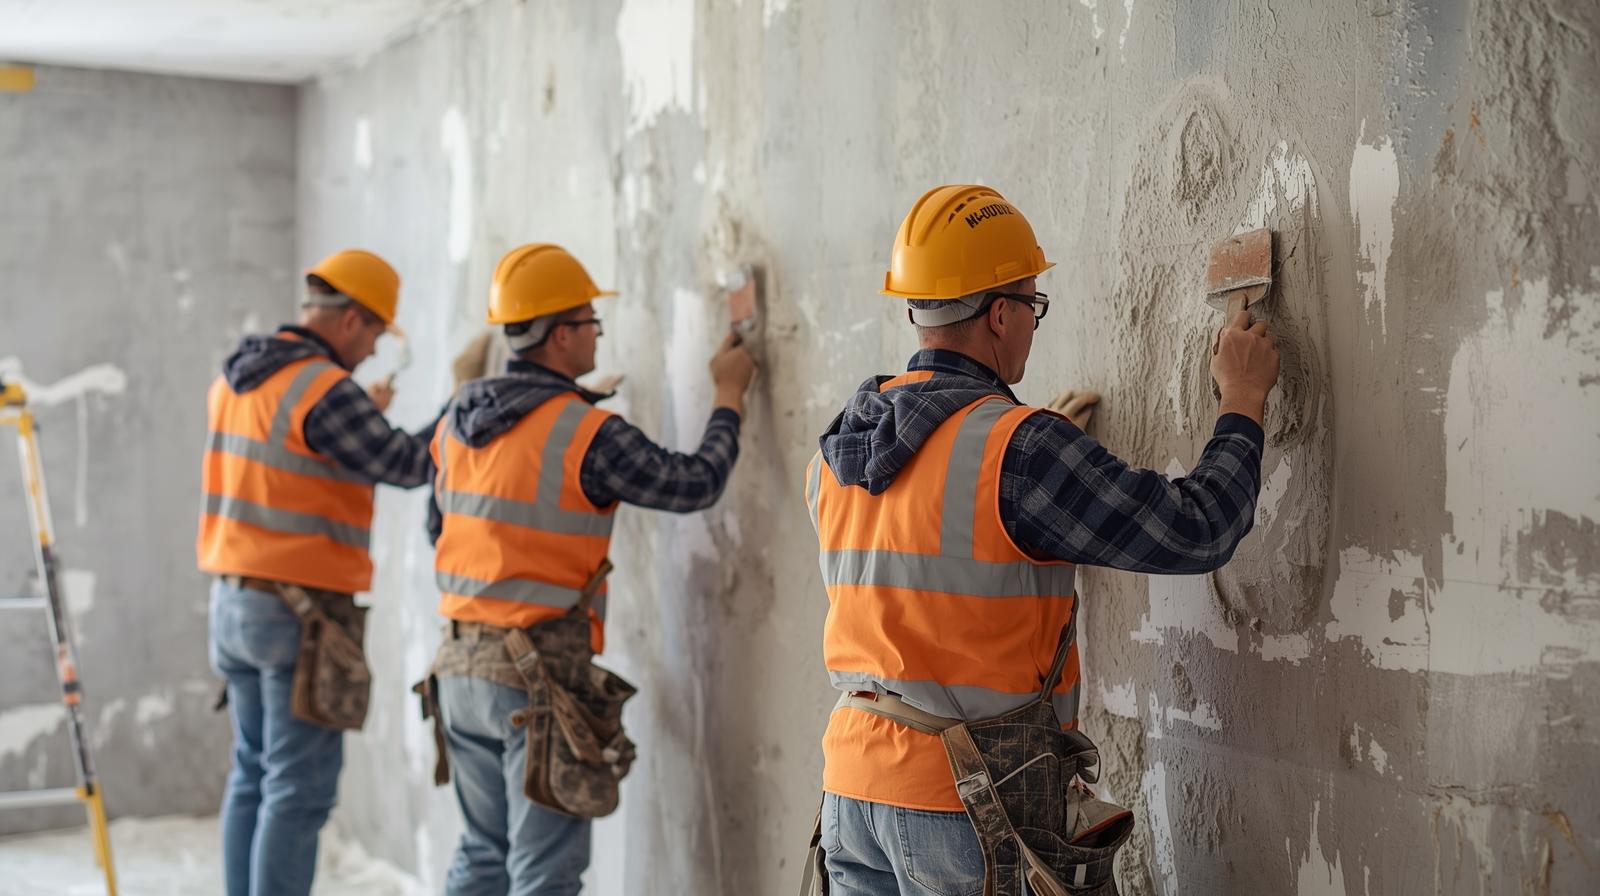
Textured walls and ceilings have a certain charm. They add depth, hide minor imperfections, and give a room a bit of personality that flat, smooth surfaces just can't match. But when that texture starts cracking, flaking, or separating from the wall, it can go from a design feature to a real eyesore fast. If you've noticed chips, uneven patches, or areas where the texture just doesn't match anymore, you're probably already wondering how to fix it without making things worse.
This is where texture plaster repair comes into play — and understanding how it works can save you a lot of frustration, money, and wasted weekends.
Why Textured Plaster Cracks and Deteriorates in the First Place
Before diving into repair methods, it helps to understand why textured plaster fails in the first place. Plaster, unlike drywall, is applied wet and cures over time, which means it's sensitive to moisture, temperature shifts, and the condition of the surface underneath it. Common causes of damage include:
- Age and natural settling of the home, which causes hairline cracks over time
- Moisture exposure, especially in bathrooms, kitchens, or basements
- Impact damage from furniture, doorknobs, or accidental bumps
- Poor original application, where the base coat wasn't properly bonded
- Temperature fluctuations, which cause materials to expand and contract
Once you understand the root cause, it becomes much easier to figure out whether you're dealing with a simple cosmetic fix or a deeper structural issue that needs more attention.
What the Repair Process Actually Involves
Many homeowners assume that fixing damaged texture is as simple as slapping on some spackle and calling it a day. Unfortunately, that approach rarely blends well, and the mismatched patch often becomes more noticeable than the original damage. Proper texture plaster repair is a more involved process that requires matching not just the color, but the exact pattern, depth, and finish of the surrounding surface.
A typical repair process includes:
1. Assessing the Damage A professional will first determine whether the issue is surface-level or something more serious, like water damage behind the wall or a structural crack that needs reinforcement before any cosmetic work begins.
2. Removing Loose or Damaged Material Any crumbling, flaking, or unstable plaster needs to be carefully removed to create a clean, stable surface for the new material to bond to.
3. Preparing the Surface This might involve applying a bonding agent or primer to ensure the new plaster adheres properly and doesn't separate again down the line.
4. Matching the Texture Pattern This is where skill really matters. Whether it's a knockdown, orange peel, swirl, or hand-troweled finish, replicating the exact texture takes a trained eye and steady hand.
5. Blending and Finishing Once the new plaster is applied and dried, it often needs to be sanded, blended, and sometimes primed again so the repaired area is indistinguishable from the rest of the wall.
Skipping any of these steps is usually what leads to those frustrating patch jobs that stick out like a sore thumb, no matter how much paint you put over them.
DIY vs. Hiring a Professional
It's tempting to grab a patch kit from the hardware store and handle small repairs yourself, and for very minor nicks, that can work just fine. But for anything beyond a tiny touch-up, texture plaster repair tends to go much smoother with professional help. Here's why:
- Texture matching is harder than it looks. Even experienced DIYers often end up with a patch that's visibly different once paint is applied and the light hits it differently.
- Improper prep leads to repeat failures. If the surface isn't properly cleaned and bonded, the new plaster may crack or peel again within months.
- Professionals have access to the right tools and materials. Getting the right trowel technique, texture combs, or spray equipment makes a noticeable difference in the final result.
- Time and mess add up quickly. What seems like a simple weekend project can easily turn into several trips to the hardware store and a much bigger mess than expected.
If the damaged area is large, involves ceilings, or is tied to a larger issue like a leak, it's almost always worth bringing in a professional rather than risking a repeat repair.
Signs You Need a Repair Sooner Rather Than Later
Some plaster damage is purely cosmetic, but other times it's a signal of a bigger problem hiding behind the wall. Keep an eye out for:
- Spreading cracks that grow larger over a few weeks or months
- Soft or spongy spots, which often indicate moisture damage
- Discoloration or staining, a common sign of water intrusion
- Bubbling or peeling texture, which usually means the bond has failed
- Sagging areas on ceilings, which can indicate a more serious structural concern
Catching these signs early and addressing them with proper texture plaster repair can prevent a small issue from turning into an expensive, larger-scale renovation down the road.
How to Choose the Right Professional for the Job
Not every contractor who works with drywall is equally skilled at matching plaster textures. Since this type of repair is part science and part art, it's worth taking a bit of extra time to find someone with genuine experience. When evaluating your options, consider:
- Portfolio examples of similar texture repairs, especially ones that closely resemble your home's style
- References or reviews that specifically mention texture matching, not just general plastering work
- Willingness to do a test patch in an inconspicuous area before committing to the full repair
- Clear communication about timeline, drying time between coats, and expected results
- Fair, transparent pricing with a written estimate before work begins
A skilled professional will also be honest with you if a full re-texture of the wall or ceiling is a better long-term solution than a small patch, especially if the damage is widespread or the existing texture has already been repaired multiple times.
What to Expect in Terms of Time and Cost
Every repair job is different, but understanding the general scope can help you set realistic expectations before work begins. Small, isolated patches might be completed in a single visit, while larger areas often require multiple steps spread across a few days to allow proper drying and curing time between coats.
A few factors that typically affect timeline and cost include:
- Size of the damaged area and how much surface prep is required
- Complexity of the texture pattern being matched
- Number of coats needed to build up the repair to match surrounding thickness
- Drying time, which can vary depending on humidity and temperature
- Accessibility, such as high ceilings or tight corners that require extra care
Rushing the process rarely ends well with plaster work, since each layer needs adequate time to cure before the next step. A reputable contractor will walk you through a realistic timeline upfront rather than promising an unrealistically quick turnaround.
Maintaining Textured Walls After Repair
Once the repair is complete, a little maintenance goes a long way in keeping your walls looking fresh. Simple habits like controlling indoor humidity, addressing leaks quickly, and avoiding harsh impacts near textured surfaces can significantly extend the life of the repair. It's also worth keeping a small amount of matching paint on hand in case touch-ups are ever needed, since color matching gets trickier the longer you wait.
Choosing Materials That Last
Not all plaster products are created equal, and the material used for a repair can make a noticeable difference in how long it holds up. Traditional lime-based plasters tend to be more breathable and flexible, which works well in older homes prone to slight movement. Modern gypsum-based compounds, on the other hand, often cure faster and are easier to work with for smaller repairs. A skilled contractor will recommend the right material based on your home's age, the location of the damage, and the finish you're trying to match, rather than defaulting to whatever is fastest or cheapest to apply.
Final Thoughts
Damaged texture doesn't have to mean starting over or living with an eyesore on your wall. With the right approach, proper prep, and a skilled hand, texture plaster repair can restore your walls and ceilings to a seamless, like-new finish. The key is understanding what caused the damage, knowing when a DIY fix will actually hold up, and recognizing when it's time to bring in an expert who can match the texture precisely.
If you're dealing with cracked, peeling, or mismatched textured walls, Boston Plastering has the experience and attention to detail needed to get the job done right. From small patch repairs to full wall and ceiling restorations, their team understands how to blend new plaster seamlessly with existing textures, so you're left with results that look like the damage was never there in the first place.
Visit this link for another blog : Plasterers in My Area